Ice Cube Ice Cube
Ice Cube and team
Thank you for choosing us for this project! We want you to have the same great results that we had. To do so, you will need to do a few things to ensure the water freezes in a way that highlights Ice Cube’s face.

To create the ice cube in the picture you need to
-
Remove air bubbles that get caught in Ice Cube’s face when filling up the mold.
- Fill mold from the side with small pitcher. Pour like you would pour a beer to avoid too much foam
- Tap bottom of mold against counter to shake out remaining air bubbles
- Video of this > https://youtube.com/shorts/pPFT-BdRyFo?feature=share
-
Make sure Ice Cube’s face freezes first. If the face freezes last, you may experience bulging that will distort the face
- Put an insulated lid on the opening of the mold. Styrofoam, cardboard, really any kind of lid that will slow down the freezing from the top opening will work
- Best to put something that ice will not stick to. I’ve provided some silicone and Styrofoam that you can use for a couple molds. Place the silicone lid on top of mold and then the Styrofoam on top of the silicone lid. Apologize for the non-custom fit, it is what I had laying around.
-
Breaking face design when removing ice from mold. Shouldn’t be an issue but could.
- After you remove the ice from the freezer, let it rest for 2 minutes before removing
- Using your thumbs push from the bottom. If it doesn’t come out, let it rest a little more.
- Even if you do remove the ice right away, do not use immediately or it will crack. The ice must rest/temper for about 2 minutes
-
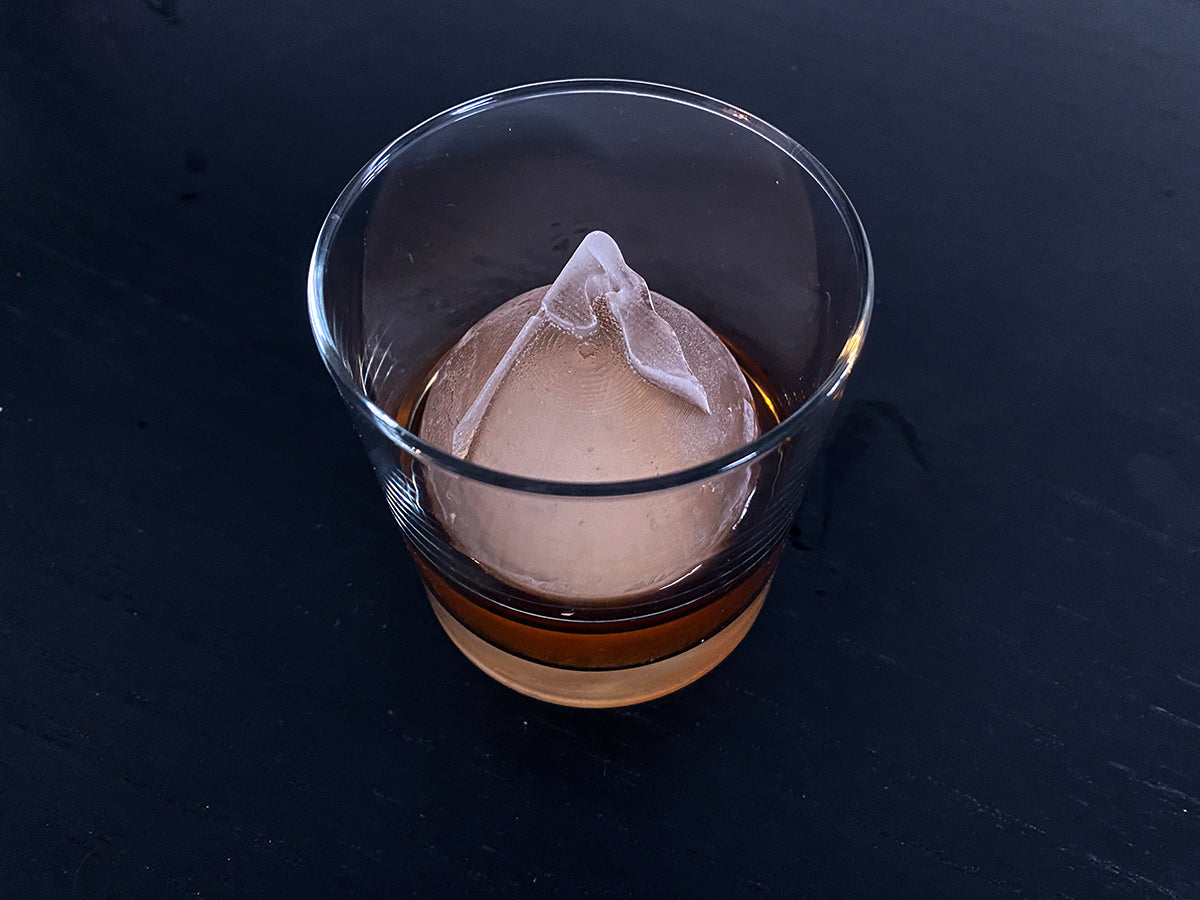
Add the ice to the drink! Do NOT pour drink over ice
- Best to use tongs to gently place ice in glass
- Use a 3-inch diameter cocktail glass
*Note – This will not create clear ice. If you are looking for clear ice, let me know.
Need help? Email info@honestice.com
Contact form